Time to discuss everyone’s favorite subject… bathroom cleaning! Okay, so maybe it’s not the most glamorous topic, but here’s the thing: keeping your restroom clean is vital to health and well-being, and can also have a big impact on how guests perceive you, especially if you’re a business! (Learn more about the importance of keeping a clean bathroom in our recent blog post: “Why A Clean Restroom Is Important for Your Business”.)
Whether you have guests visiting, a business to keep clean, or are currently facing a nasty bathroom situation, we’ve got the tools to help! Read on for seven of our go-to tips for transforming your bathroom from cringe-worth to luxurious!
Let’s go over a few ground rules and chemistry lessons before we dive into the steps:
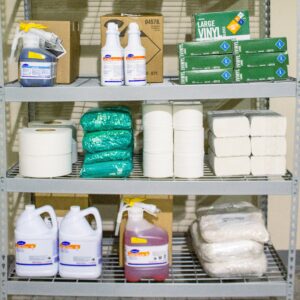
First things First – Get Your Chemicals Straight!
When cleaning bathrooms, remember that all solutions that are made of water can be measured for their PH level. PH runs from 1-14, with anything 0-6.9 is acidic, and 7.1-14 is alkaline, and 7 being neutral.
When choosing chemicals, a higher PH does not necessarily mean it will clean better. Rather, it tells you what types of messes that specific product can clean. When choosing your weapons of germ destruction, make sure to follow these general guidelines:
Acidic Cleaners – best used for cleaning metals & removing mineral buildup:
Acidic cleaners use chemicals like hydrochloric acid and chelates to lower the PH level of a deposit so it can dissolve efficiently. This means acids are awesome for:
-
Brightening Metals: Don’t deprive yourself the joy of seeing your face in a squeaky-clean faucet handle! Acids are the key to brightening them up.
-
Removing Mineral Deposits: This could include metallic stains, lime deposits, or any corrosive or scaly deposits lurking around the bathroom (we’re looking at you, rusty drain!)
Alkaline Cleaners—best used for dissolving oils, fats and proteins:
Alkaline products contain strong bases like sodium hydroxide or potassium hydroxide, such as Bleach and Ammonia. Use Alkaline cleaners for:
-
Removing oily, greasy spots & stains: This is where our friend Mr. Clean often comes in handy! Bleach is a great product for disinfecting and removing stains
-
Floor cleaning: This would be achieved with a daily floor cleaning product to leave your floors clean enough to eat off of
Follow These 7 Steps For A Bathroom Your Mother Would Be Proud Of:
1. Clear Out the Surface Particles:
Before you dive into the heavy-duty cleaning, you need to clear out the garbage, dust, and surface particles so that they don’t get caught up in your wet cleaning solutions. This means emptying out all the trash cans, dusting your faucets, fixtures, vents, cabinets, and counters, and sweeping up the floor.
2. Pre-Treat the Tougher Stains
Treat Tough Stains: The longer you can pre-treat a stain, the more likely it is to come out without Herculean strength. So, before you advance to Step #3, add your pre-treatment, such as a powder or a liquid cleaner like muriatic acid to toilet bowls, inside urinals, floors, sinks, sink bowls, or anywhere else that’s been, erm, thoroughly used.
Treat Greasy Floors: This is also a good time to scan the floors and pre-treat any greasy, grimy areas that won’t clean up with a simple damp mopping (like spilled and hardened soap). Make sure to let them sit for as long as possible to make the rest of your job a breeze.
Treat Dirty Grout: If we’re dealing with dirty grout (usually found around urinals and toilets), apply an odor eliminator (preferably enzyme fortified ) with a brush so that it has time to absorb and treat the mess. Odor eliminators are most effective when they’re applied and left for a few hours or more (but any amount of time is better than nothing!).
3. Change Out All Paper Products
Refills, anyone?
After cleaning and dusting off surfaces and pre-treating messes, do your duty (are bathroom puns frowned upon in this case?), and make sure to refill any paper towels, toilet papers, tissues, soap, hand sanitizers, air fresheners, tic-tacs (you never know!), around the bathroom.
4. Clean the Toilet Bowl Stains & Deposits:
Now the real fun begins! Remember those toilet bowls and urinals we pre-treated in Step 2? Now it’s go-time! Go ahead and give the toilet a good scrub.
Hard water deposits, rust stains, copper stains, mold, and mildew can all be removed from toilet bowls with hydrochloric acid (Pop Quiz – is that an acid or alkaline cleaning product?). If you pre-treated the bowl, it will make this job much easier.
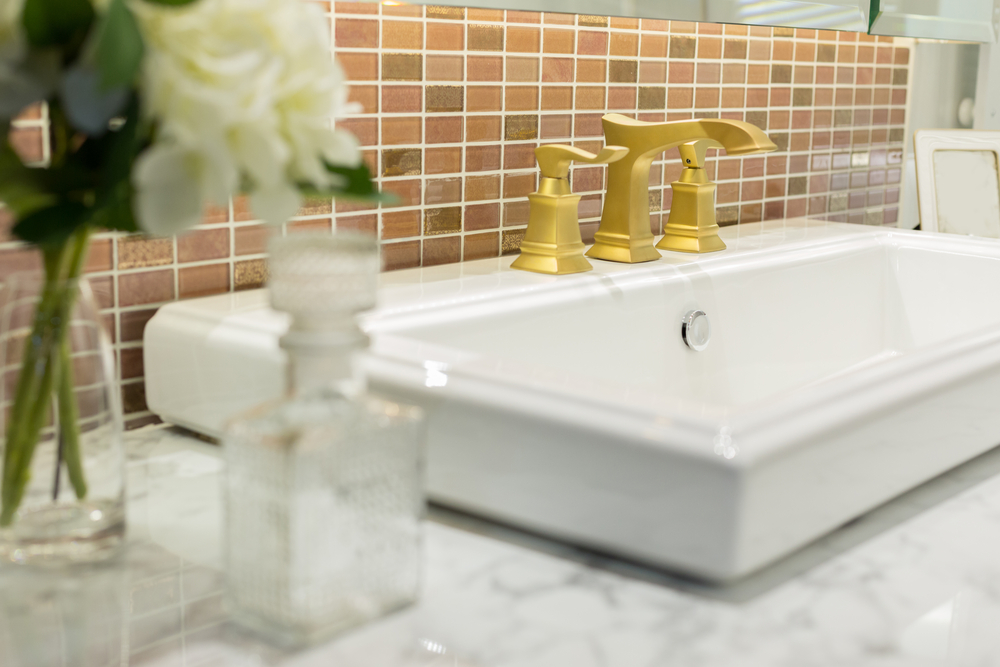
5. Clean Mirrors, Sinks and Counter Tops
Mirror, mirror on the wall, who’s the cleanest of them all?
Time to bust out your best microfiber cloths (or clean rags if you don’t have access to microfiber rags) and get to work cleaning off your mirrors, sinks and counter tops. Use a glass cleaner for the mirrors, and depending on the dirtiness of the sink, opt for a calcium remover or simply soap and water.
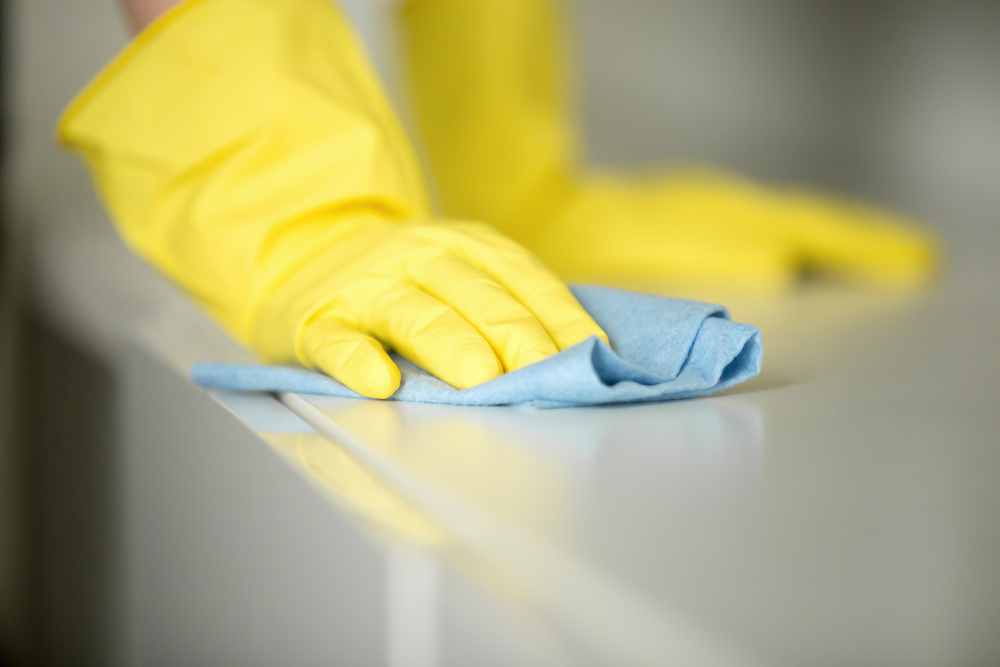
6. Wipe Down Walls and Fixtures
Do you remember that scene from Daddy Daycare when his son “misses”? Hey, it happens to the best of us. That’s why it’s SO important that you wipe down all walls, stalls, doors, knobs, handles, and any other fixtures that could have been hit or touched with dirty hands. Trust us… you don’t want guests staring at that kind of mess!
7. You’ll Be Floored… At How Easy It Can Be to Clean Dirty Restroom Floors
Don’t worry, we’ve saved the best for last! The floors in bathrooms, especially if you’re cleaning a public bathroom, can sometimes be exactly what nightmares are made of. But fear not! Here are a few steps to help ease the clean-up effort:
-
Mop the floor: With a wet mop, make sure that you work backwards, mopping from the back of the bathroom towards the door. (If you’re somewhere public, make sure to put up wet floor signs and keep people out of the bathroom! Wouldn’t want to ruin your progress!). Make sure to give enough time for the bathroom to dry completely before opening the restroom again.
-
If you’re dealing with stained and smelly grout: Hopefully you heeded our advice from step 2 and pre-treated the area. Use a rag, scraper or brush to clean up the remaining mess, and then wipe it clean with a microfiber towel.
-
When it comes to battered, dingy floors, damp mopping ain’t gonna cut it: Dingy floors are very common in high traffic areas. This problem calls for a floor machine and brush. If there’s a lot of built-up of grease and grime, pre-clean by machine scrubbing with a degreaser first. Then mop the floor lightly, apply a degreaser, scrub with a machine and brush, wet-vac any residue, and rinse and dry thoroughly.