We all know that messes happen. Especially if you own a business, hotel, school or corporation, you know that messes are simply par for the course. We’re here to help arm you with the knowledge you need to take on these stains yourself, and to help you remove those pesky marks from even the toughest upholstery.
**One word of warning before diving in: if your stained furniture is a precious antique or of high value, be sure to come to the professionals for help. Seriously. You don’t want to make things worse.
Step 1
Check your upholstery care label on your furniture before you do anything to know what the manufacturer recommends in the event a washing is needed. You may get lucky and find that you can remove cushion covers and launder them in your own washing machines (we recommend a quick spot treatment before throwing the cover in the wash). When washing linens in the machine, use hot water to wash lighter-colored fabrics and cold water for those darker colors.
Step 2
Always to be sure to spot test your treatment fluid on a discrete piece of your furniture or linen. No solvent is 100% safe or fool-proof, so make sure that top cushion of your beautiful arm chair is not the testing grounds.
Step 3
Gather the items that you will need for the cleaning. We suggest a vacuum (a wet/dry vac is a great option, but no matter what you use, make sure the upholstery brush is clean before you use it for stain removal). You will also need a container of clear and gentle liquid dish soap, a clean hand-held upholstery brush, and a small can of compressed air (if your stained furniture has buttons or other crevices that you will need to work around).
Step 4
Before blotting (this is not the time to take out your aggression) commences, be sure to gently vacuum the stained and surrounding area to ensure you pick up any small particles that could become abrasive during the stain removal process.
It’s important to ensure you don’t make the situation worse by scratching or tearing the fabric (and ladies, watch those fingernails during the cleaning process). And use that can of compressed air to remove any particles in those tough to get at spaces.
Step 5
After you have removed any loose debris, pour a small amount of the clear dish washing liquid (Seventh Generation, Dawn, and Palmolive all manufacture clear liquid dish soaps) into a bucket of warm water. You won’t need much… about ½ – 1 teaspoon for ½ gallon of water.
Step 6
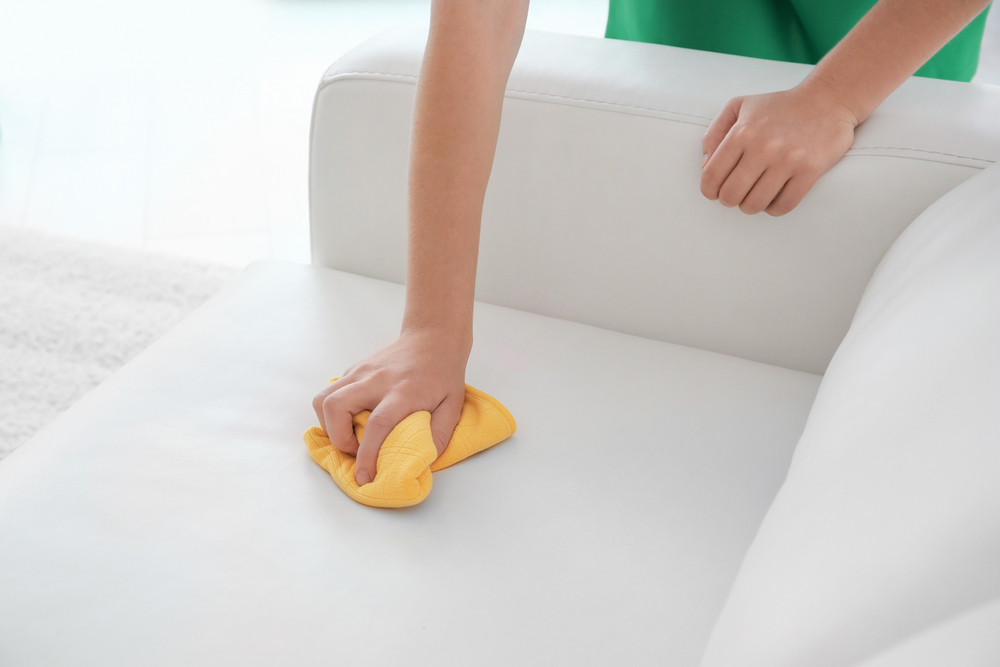
Apply a small amount of the sudsy water that you prepared in step 4 to the upholstery brush. Just a small amount of liquid (or even just the suds) will do. If your brush is dripping, it’s too wet so take a clean towel and pat the brush until it is barely damp. Now, with a very gentle motion, lightly blot the stain with the soaped brush, and be sure not to soak the fabric.
Step 7
Let the upholstery dry, and then repeat one or two more times as necessary.
Of course, there are several products on the market that you can buy in advance in anticipation of a stain. And, that’s not a bad idea, because it is important to get to the stain as soon as possible so that it won’t set.
There are a variety of solvents on the market that work quite well. And, you may even find that a clean micro-fiber cloth can blot out the stain as well; no chemicals or solutions needed.
HELPFUL HINT: After using your micro-fiber cloth, wash it in your washing machine with detergent only, and no fabric softener. Then, air dry (preferred method) or tumble on low heat.
DIY Upholstery Cleaning Solutions
We’d be remiss if we didn’t spend a little bit if time talking about approaches to making your own upholstery cleaning solutions, especially if you are looking for an environmentally-friendlier option.
Quite frankly, as not all stains are the same, it’s a great idea to have options available to you when the inevitable spill happens.
-
Equal parts club soda, vinegar, and clear dish soap
-
1 tbsp clear dish soap, 1 tbsp white vinegar, 2 cups hot water, 1 sprinkle of baking soda
-
Equal parts rubbing alcohol and white vinegar
-
1 tbsp white vinegar, 2/3 cup rubbing alcohol
As long as you don’t mix anything that will cause us to write our next blog post on how to repair a hole in your ceiling because your upholstery cleaner experiment went awry, you really can’t go wrong exploring combinations of the various ingredients listed above.
As the saying goes, in this case, don’t feel like you need to cry over spilled milk. Simply pick yourself up off the floor and clean it up!
If the stains are excessive or you’re ready to call in the big guns, make sure you contact us at Bee Line Support immediately!