As simple as vacuuming may seem, there are actually a few steps that will help you to clean your floors way more efficiently, and get a bigger bang for your buck from your old trusty Hoover. If you how to properly set up your vacuum cleaner, clean it, and push it so that it does its job peacefully and breezily, then you’re golden. That’s why we’re diving into some of the most important tips to remember when setting out on your floor cleaning mission!
How to know you’ve been vacuuming the wrong way
Here are some quick hints to help you decipher whether you’ve been going about vacuuming the wrong way (often completely unknowingly):
-
There is a dark line along the base of your walls
-
Your hardwood floors run rampant with dust (this may also be a sign that you’re overdue to change out your air filter)
-
You have perpetually dirty socks
-
Your home has an odor that can’t be explained
-
Your indoor allergies don’t seem to get better after a housecleaning
-
Areas that are frequented often appear dark
Do you have any of these signs in your home?
If any of the above signs can be found in your home, it’s time to pull out that trusty vacuum and investigate. Take those dirty lines that you might can see along the edge of the carpet and along the baseboards as an example.
These lines occur when your home is full of dust. Central heating and cooling system fans circulate the air throughout the room, and then that dirt and grime settles along the edges of the room. If the air in the home is dirty, then you just end up with dark streaks along the bottom of your walls. And, very few modern (or older) vacuums can truly get all that way up against the walls.
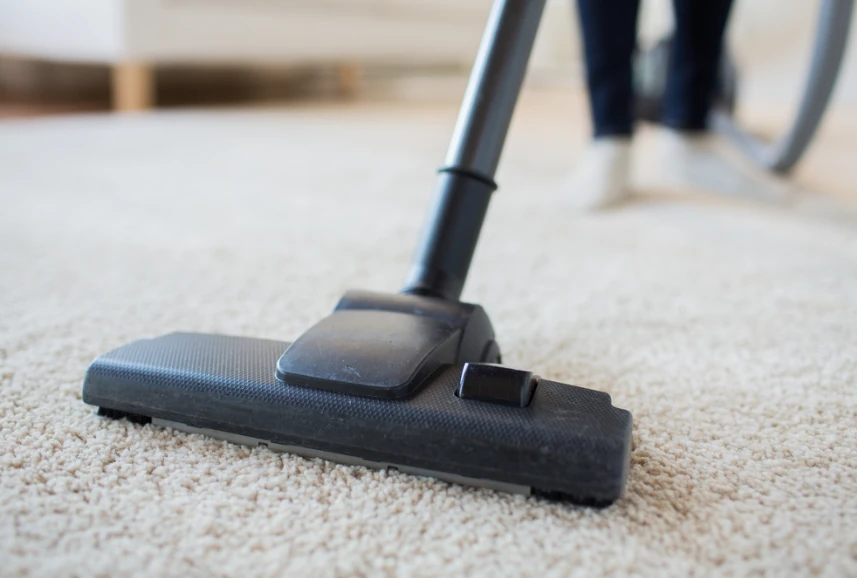
Top vacuuming tips. How to vacuum properly
At the least, you should try to vacuum your home at a minimum of once per week. If you have pets, or it’s your office or commercial space that needs some help, you may need to vacuum once per day. You probably also need to replace the vacuum bag or if using a bagless vacuum clean out the filter after each vacuuming attempt. When these bags and filters aren’t properly emptied, it negatively affects the performance of the vacuum, which leaves you with a dirtier space.
-
Start by dusting – Dusting first will ensure that you don’t simply dirty your floors again after the dusting. It’s really quite a simple strategy, but so many of us dust as the last part of our deep cleaning process. So change it up, and you may be quite surprised about how much cleaner the room will be.
-
Clean up larger debris – You aren’t going to effectively clean the room if you simply dart the vacuum around the scattered items that might be strewn across the floor. This doesn’t mean you need to move couches and other bulky items. But if something can be easily moved and elevated during your vacuuming, you’ll get much better results.
-
Clean the edges – As we said above, your vacuum isn’t going to get into those edges effectively. So you need to take the time to get out the crevice tool and run it along the edges. If you can, conduct this edge cleaning weekly, but in the least, do this twice per month.
-
If it is raised, get under it – Dust, debris, and pet hair dust build up beneath raised furniture. So at least monthly, vacuum underneath any raised items such as sofas, entertainment centers, and bookshelves. A good strategy is to do this after you have cleaned the edges of the room with the crevice tool, as that same device will make this process a breeze.
-
Consider height – Did you know that you can adjust the height on most modern vacuum cleaners? If you’re still using an old Hoover from 1960, it might be time for an upgrade. Today’s modern vacuums offer the handy feature of an adjustment based on the type of flooring that you need to clean. If your vacuum has this feature, adjust the height to suit the surface you’re cleaning. This will help maximize suction (and make it easier for you to run the vacuum through tall shag carpet) for different floor types.
-
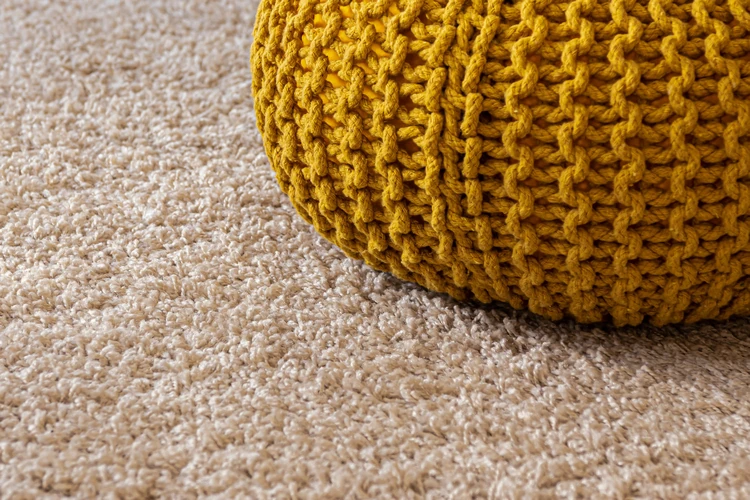
Work it both ways – Prepare to have your mind blown because it is amazing how most people don’t realize this – even if you do all of the above, we bet you don’t have this one mastered. If you look at your carpet fibers very closely, you’ll see that the fibers are comprised of twisted loops. Those loops get filthy in all directions, so vacuuming in only one direction won’t get the floor totally clean. To vacuum properly, you need to work it both ways – from left to right across the room. Then turn and work it from the other direction too. This ensures that the fibers get cleaned in both directions and you get a deeper clean of your carpet or rug.
-
Slower is better – Your vacuum’s brush may rotate swiftly, but it still needs time to really do its job. So, take it slow and give the brush time to really suck all the dirt from the floor – especially if you have cats and dogs as it can take a bit more time to get those thin hairs out of thick carpeting. Make sure that your strokes with the vacuum overlap, too.
A good vacuum job is worth the effort
Nobody likes the look of dirty floors. Whether it’s for your employees, your customers, your family or your friends, it’s important to set up a consistent vacuuming routine and keep your floors clean.
If this seems like too much effort, you can always call in the big guns! And if you prefer the do-it-yourself route, have some fun with it! Crank the tunes, prep your space, and have some fun cleaning your space!